
The purpose of system groups is to document individual portions of a network. When creating the documentation, you can define the groups to be included.
Clicking the System Groups button in the Inventory area opens the dialog for creating system groups and assigning systems to the system groups.
Use the New System Group button to create new system groups.
All existing groups are listed in the top pane and may be selected for editing.
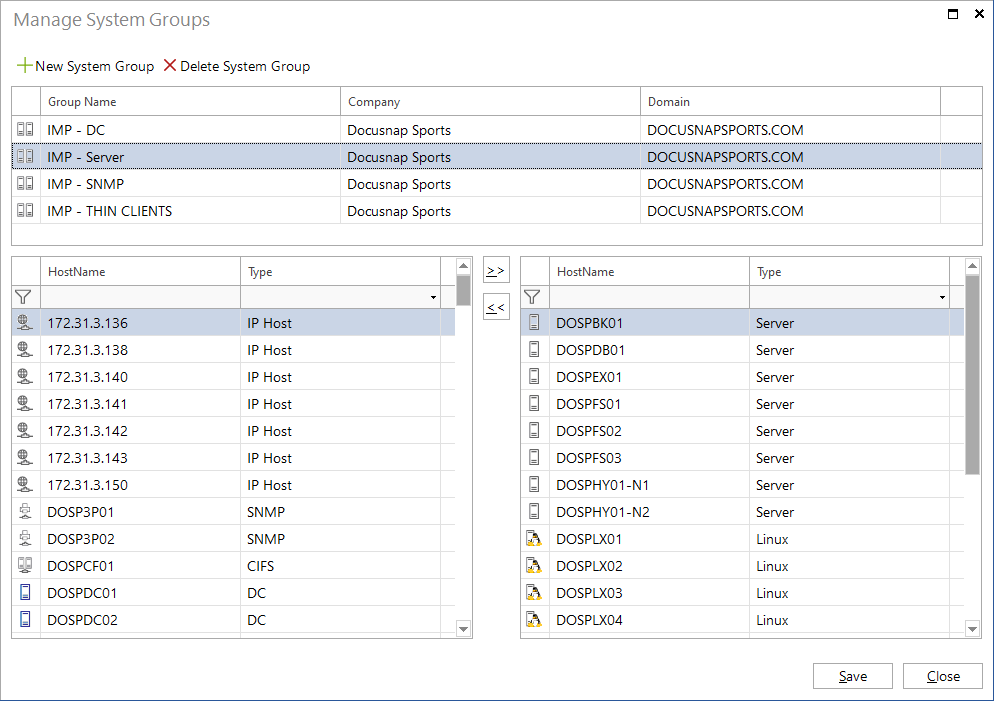
After the group has been saved, or an already saved group has been selected, all systems existing in the selected domain will be displayed in the table on the left of the dialog. In order to find a certain system to be included in the system group, you can filter the list of systems.
To add systems to the current system group, select them in the left table and click  to move them to the right table. All systems listed in the right table belong to this system group. To remove one or more systems from the group, select them and click the
  button to move them to the left table.
Save the changes made to the systems in this group by clicking the Save button at the top of the dialog. To close this dialog, click the Close button.
