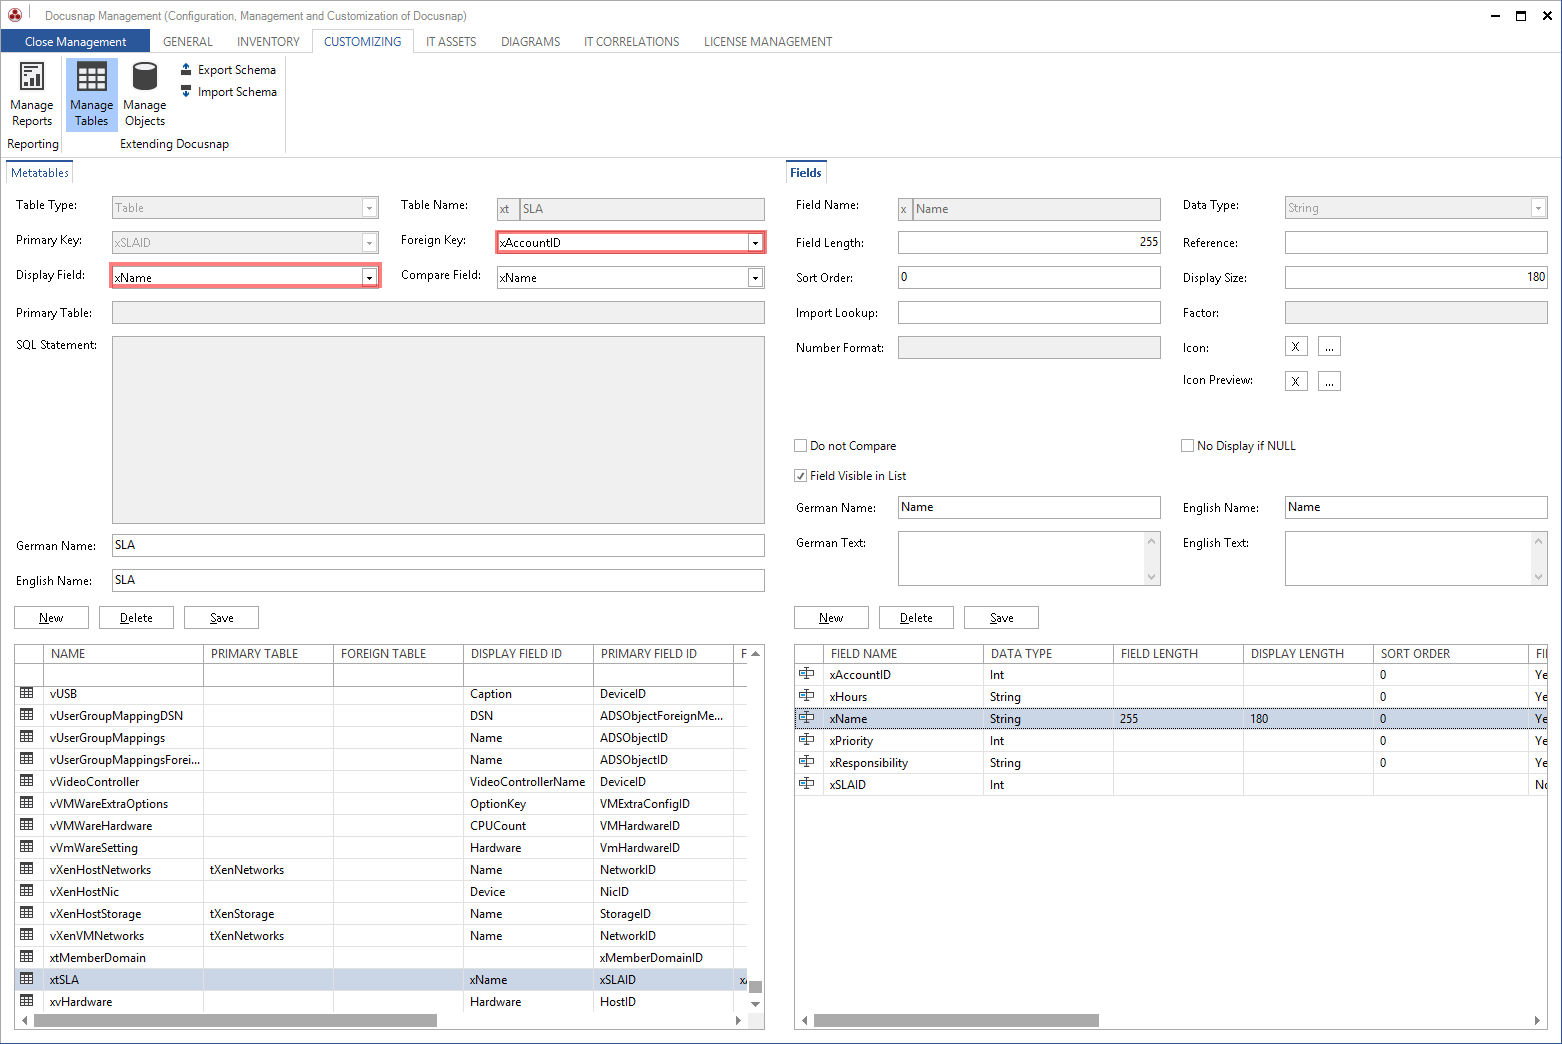
As a simple example, this section explains how to create an additional table for entering SLAs (Service Level Agreements).
Creating the Table
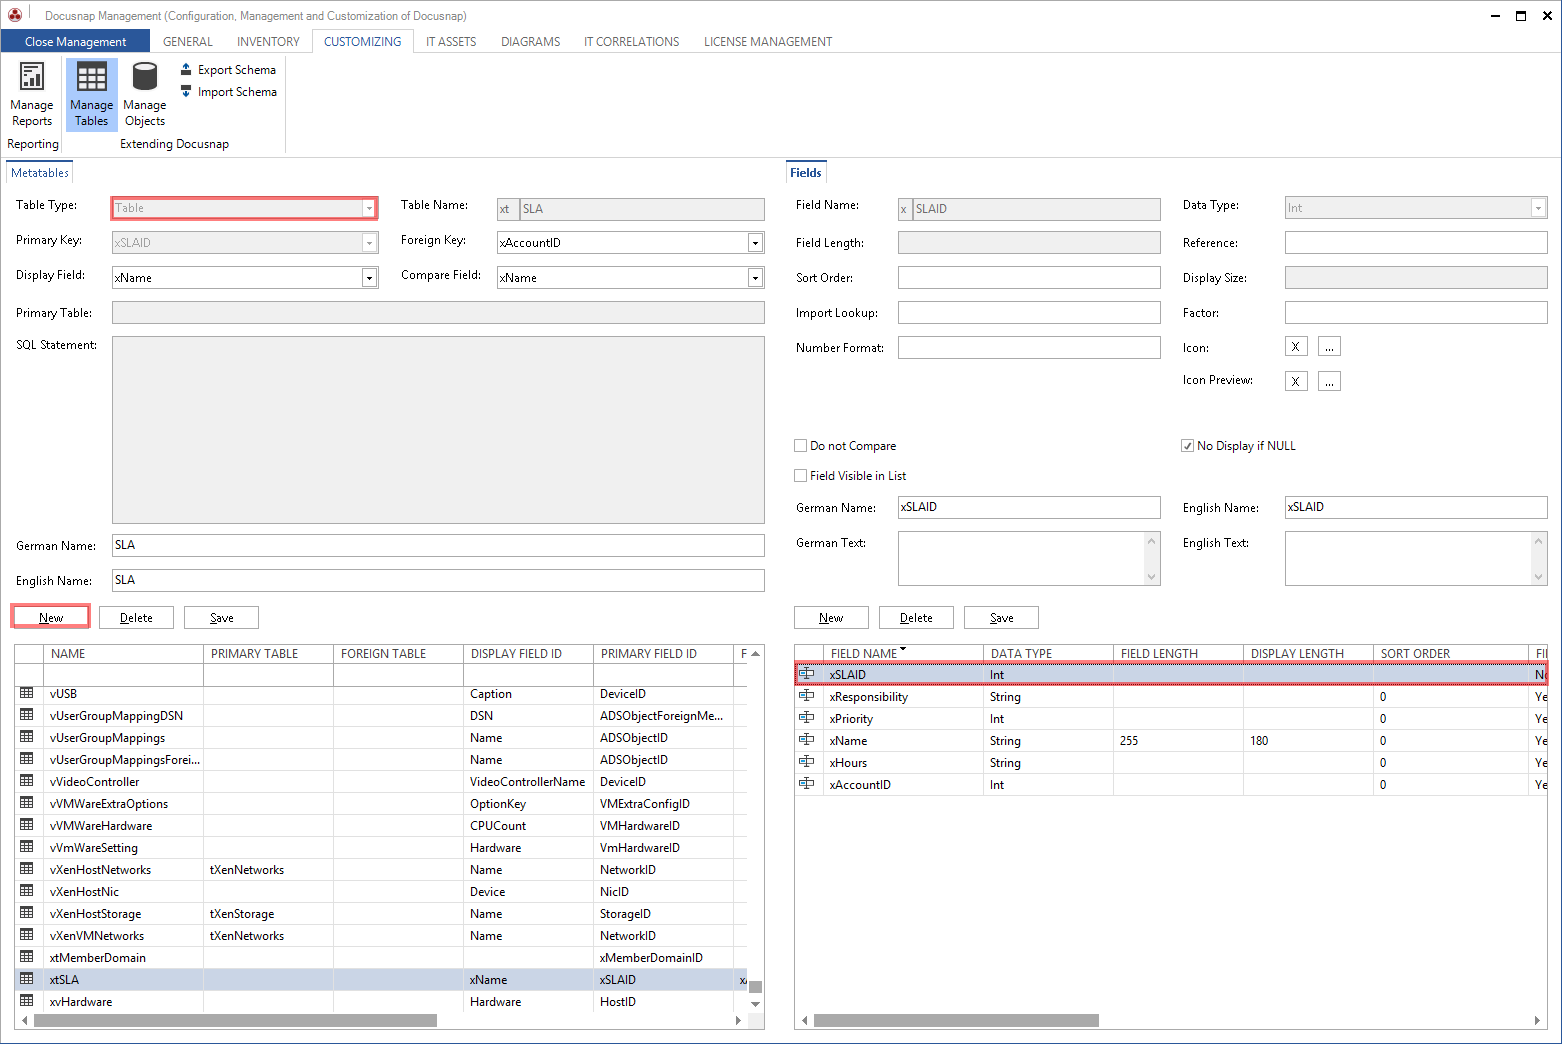
The first step is to create the table. To do so, click the New button. Then, select Table as the table type and enter the table name, i.e. SLA. Save the table by clicking the Save button. The xSLAID column is created automatically and defined as the primary key.
Creating Fields
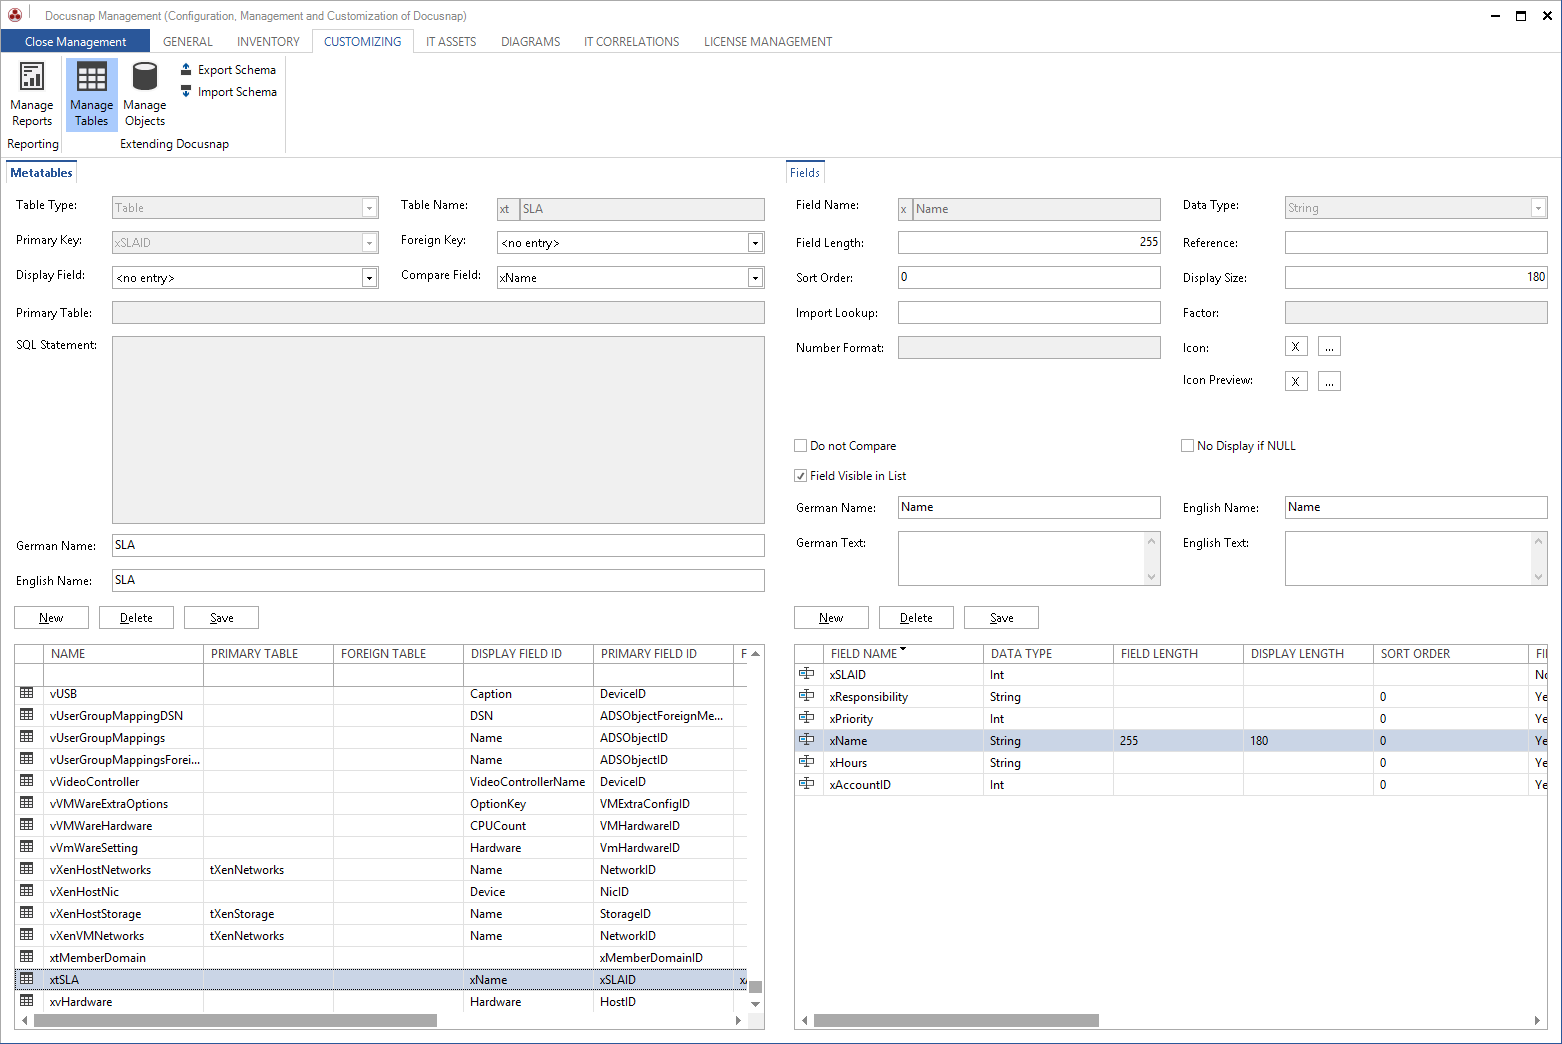
Next, click the New button in the lower pane to create additional fields. To save a newly defined field, click the Save button in the field creation pane.
For this example, you need to create the following fields:
Field Name |
Datatype |
|
AccountID |
Long |
|
Hours |
Decimal |
|
Name |
String |
Field Length: 255 |
Priority |
Long |
Reference: {RePriority} |
Responsible |
String |
Field Length: 255 |
When you are done creating these fields, select the xAccountID field as the foreign key and the xName field as the display field. When you have selected the foreign key and the display field, click the Save button in the upper pane to save your changes.