Required Permission
Before you start, make sure that you can log on as an Azure user who has global administrator rights.
Creating the New Azure Application
For the Docusnap Office 365 feature, a registered application is required. This application must have read access to the Microsoft Azure data. This section describes how to create such an application. In our example, the application is called Docusnap Office 365. You can choose any name you like, but it is recommended to enter a meaningful name.
Create / register the app as follows:
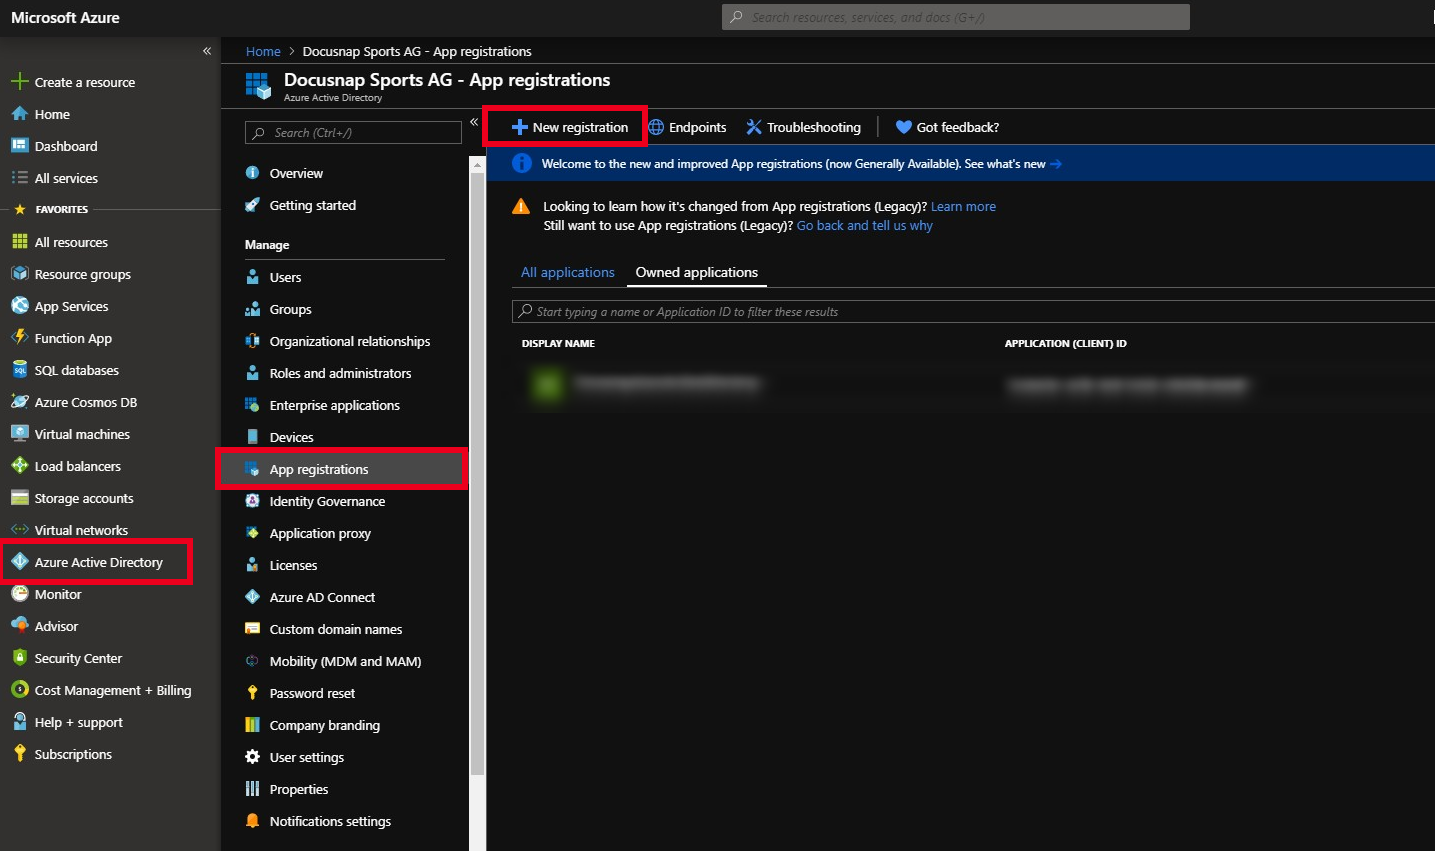
- Select the Azure Active Directory in the resource overview or the search.
- In the Manage area, select App registrations.
- Click on the menu item New registration
Register the application
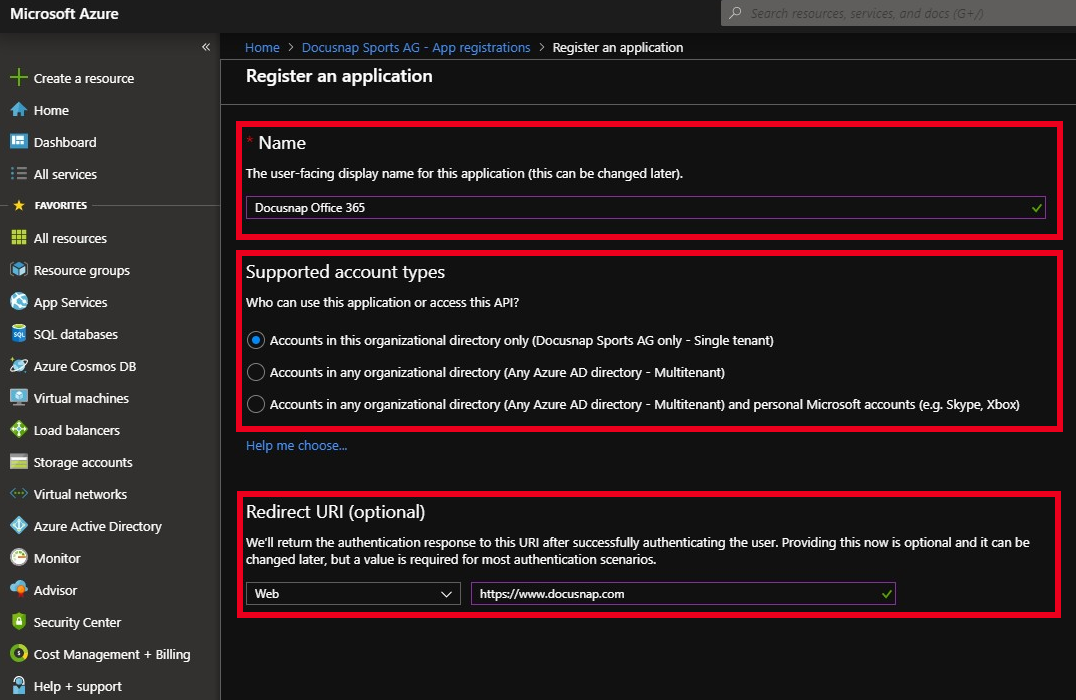
The following information is required to register the application:
- Name: Enter the application name Docusnap Office 365.
- Supported account types: Here you can select who can use the application - select Accounts in this organizational directory only
Determine Application and Directory ID
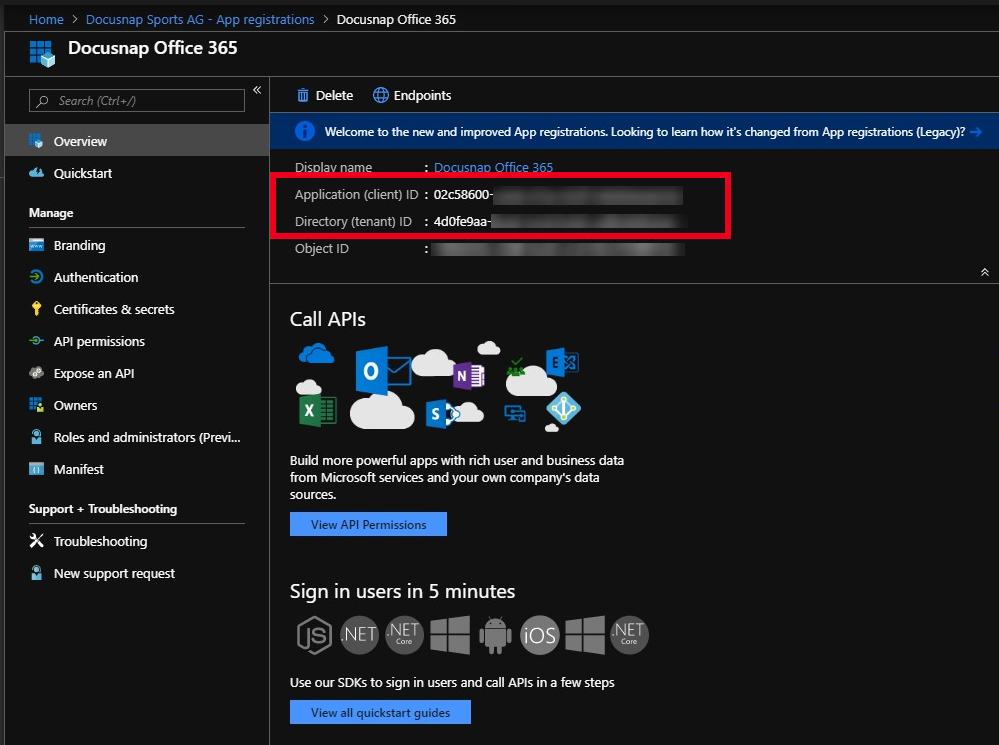
After the creation is completed, the overview dialog of the application is displayed. Now copy the application and directory ID and write it down for the Docusnap scan dialog.
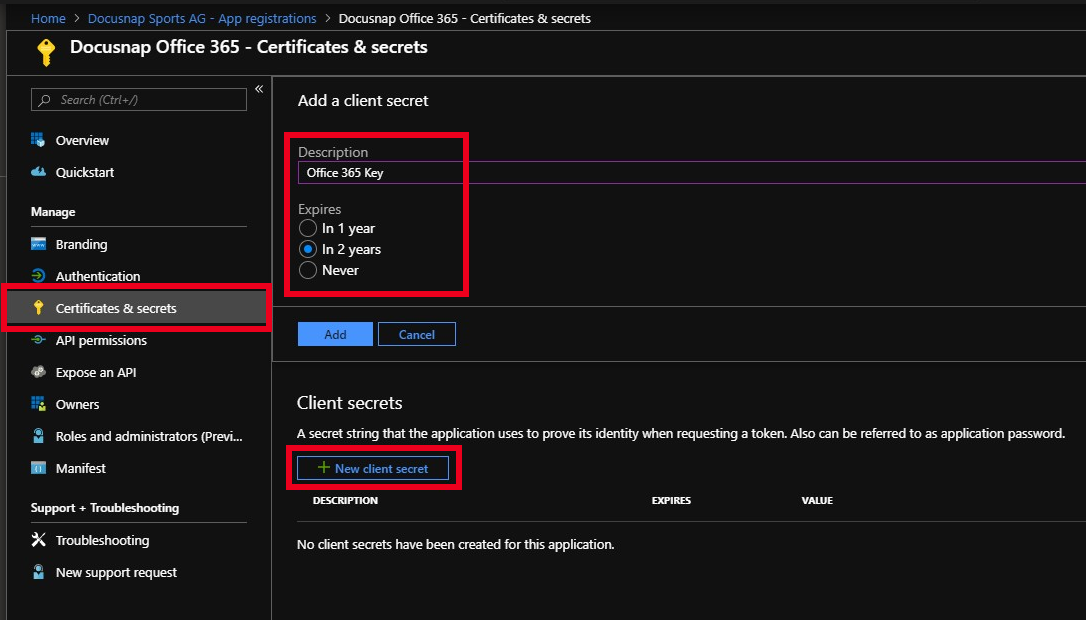
Create a client secret
Now create a client secret. In the Manage area, select the item Certificates & secrets
- New client secret
- Enter a Description and
- the validity of the secret
Note: The key can only be viewed directly after creation. If the key is lost or becomes invalid, a new key must be created.
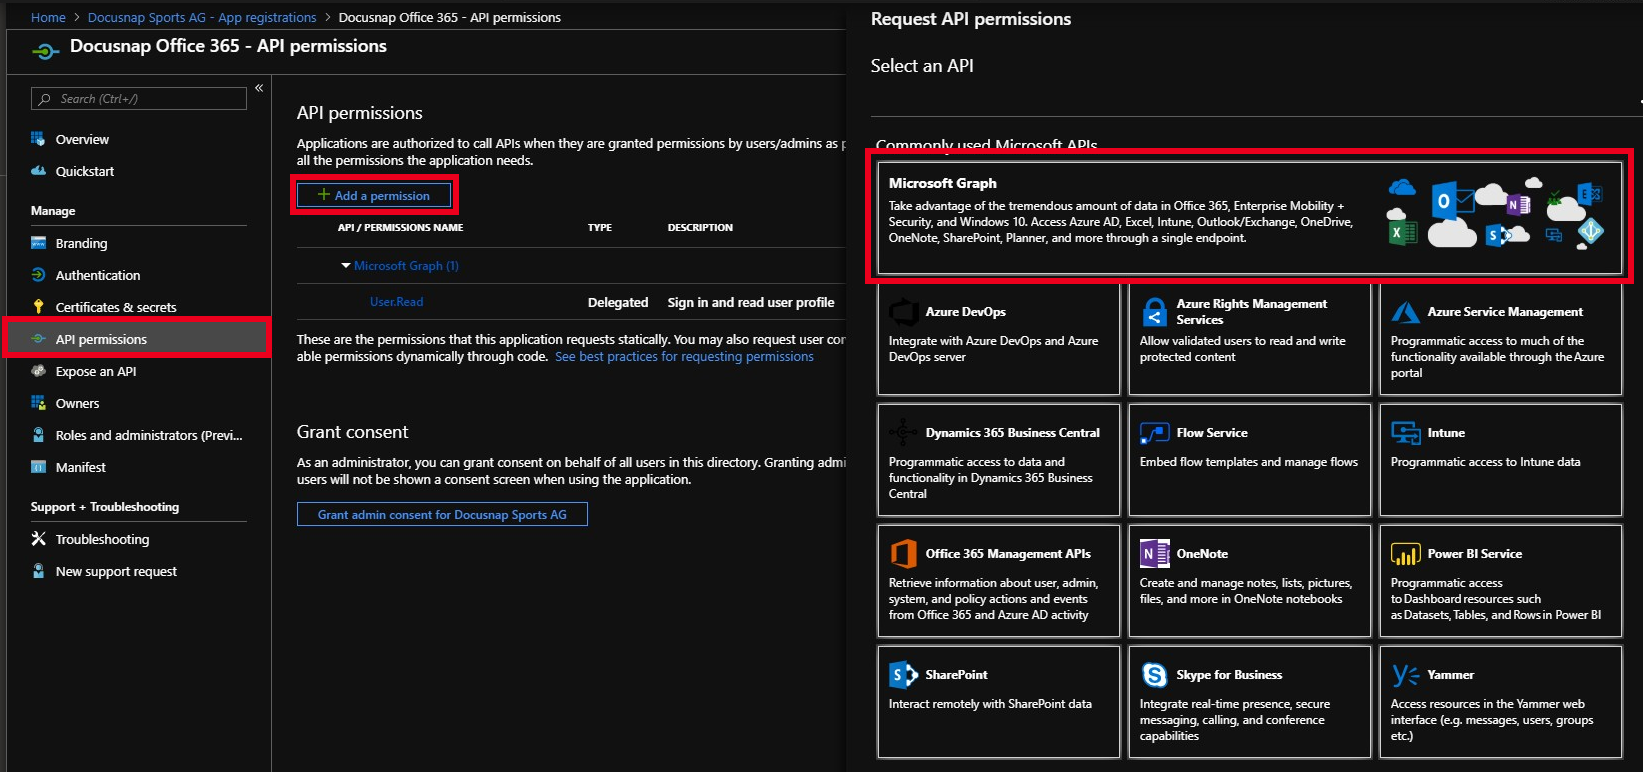
Authorizing the application – API permissions
Now the application must be authorized for the Windows Azure Service Management API.
- In the Manage pane, select API Permissions
- Add a permission
- Microsoft Graph
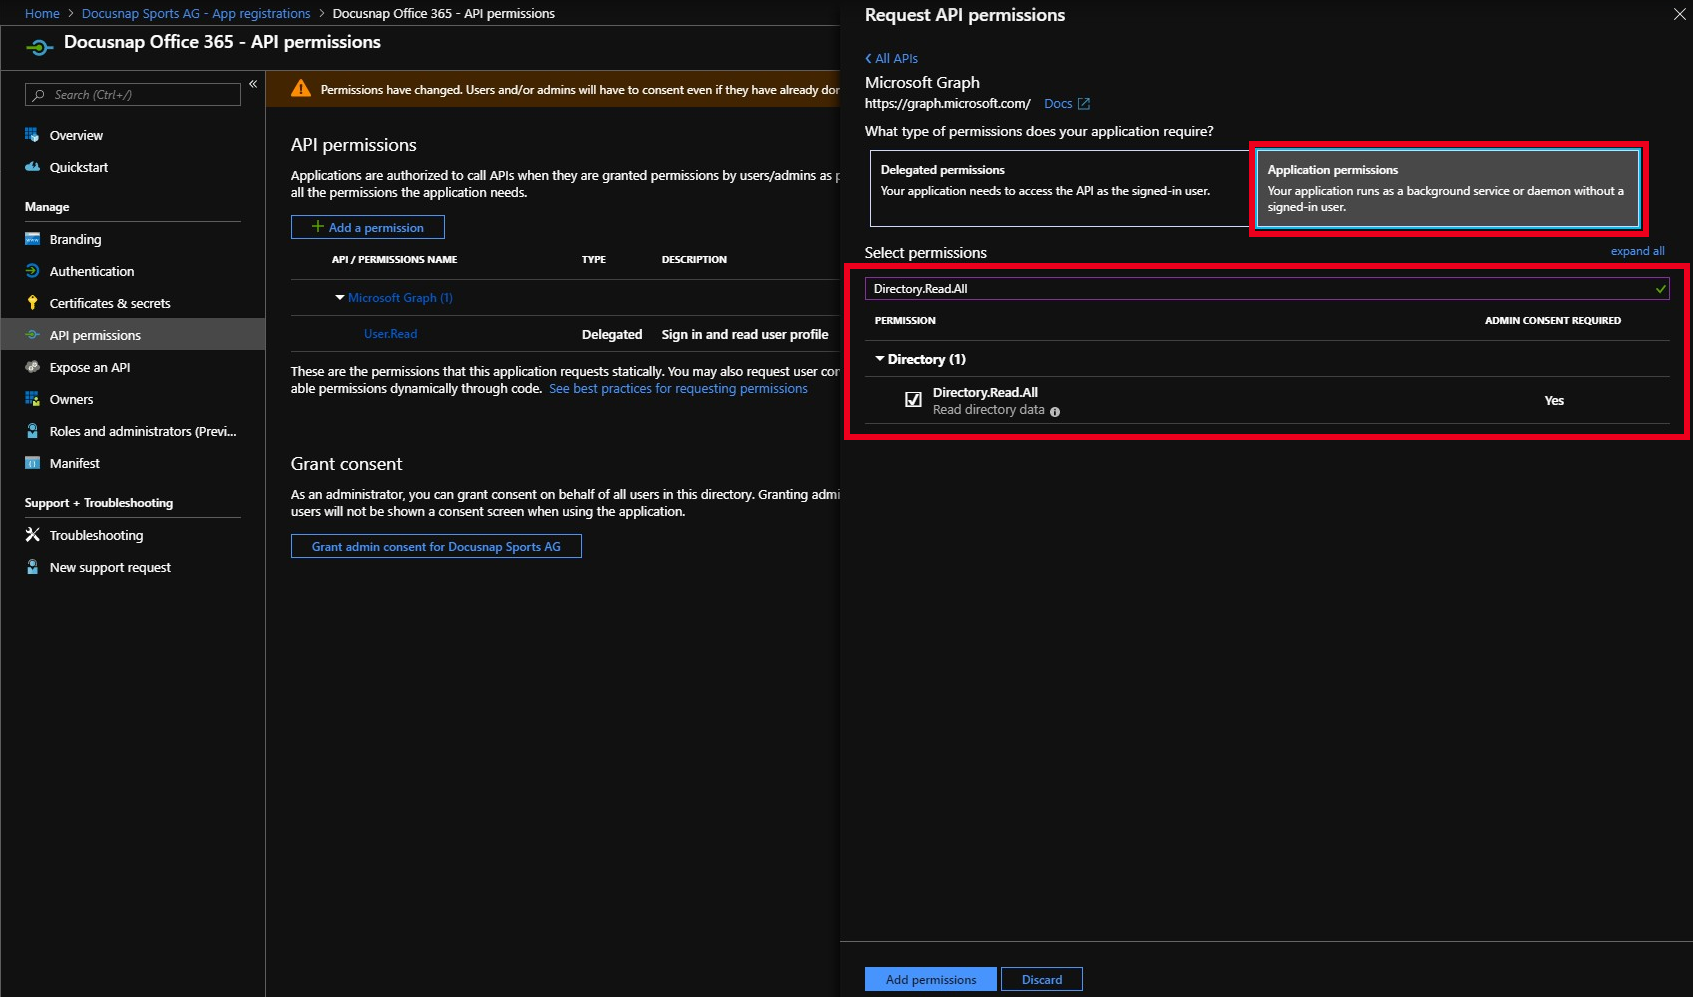
Choose Application permissions as the type of permission to be granted.
Use the keyword Directory to find the Directory.Read.All permission and add this permission.
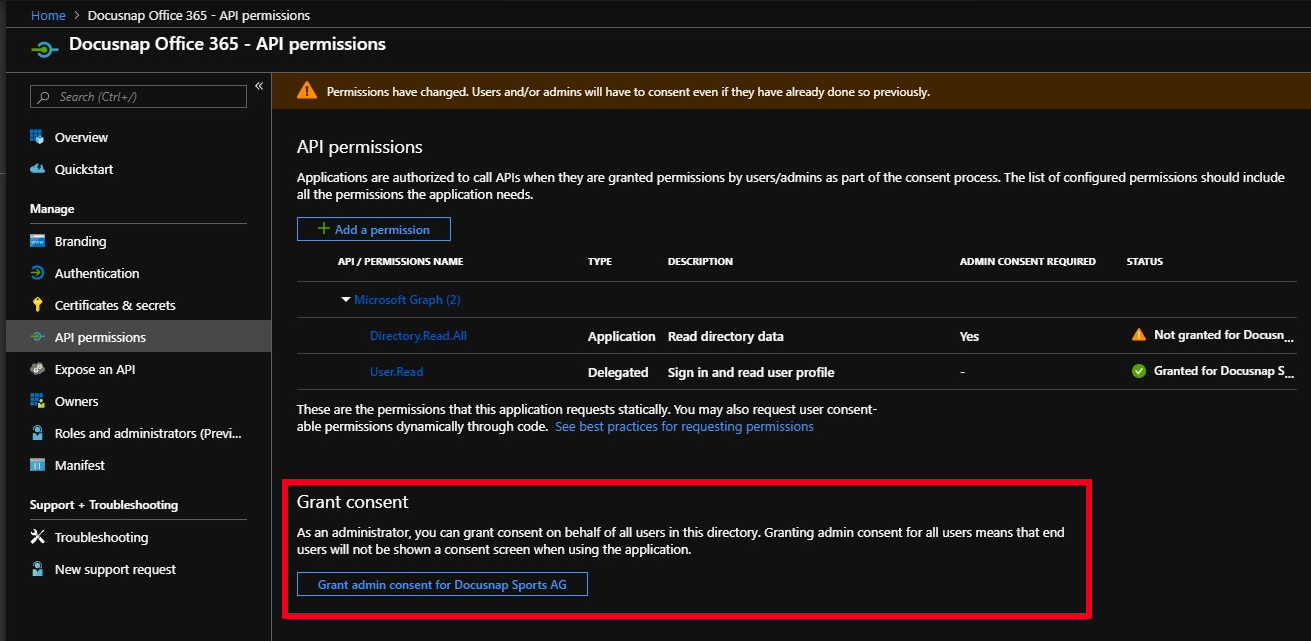
Now you have to give your consent for the previously set permissions. To do this, select the control Grant admin consent for "Your subscription".
Alternative: PowerShell Script
Alternatively, a PowerShell script can be used to perform the steps described above.
The script is located in the installation directory of Docusnap
C:\Program Files\Docusnap X\Tools\scripts\ o365.key.creation.ps1
Important: The PowerShell script must be run as an administrator!
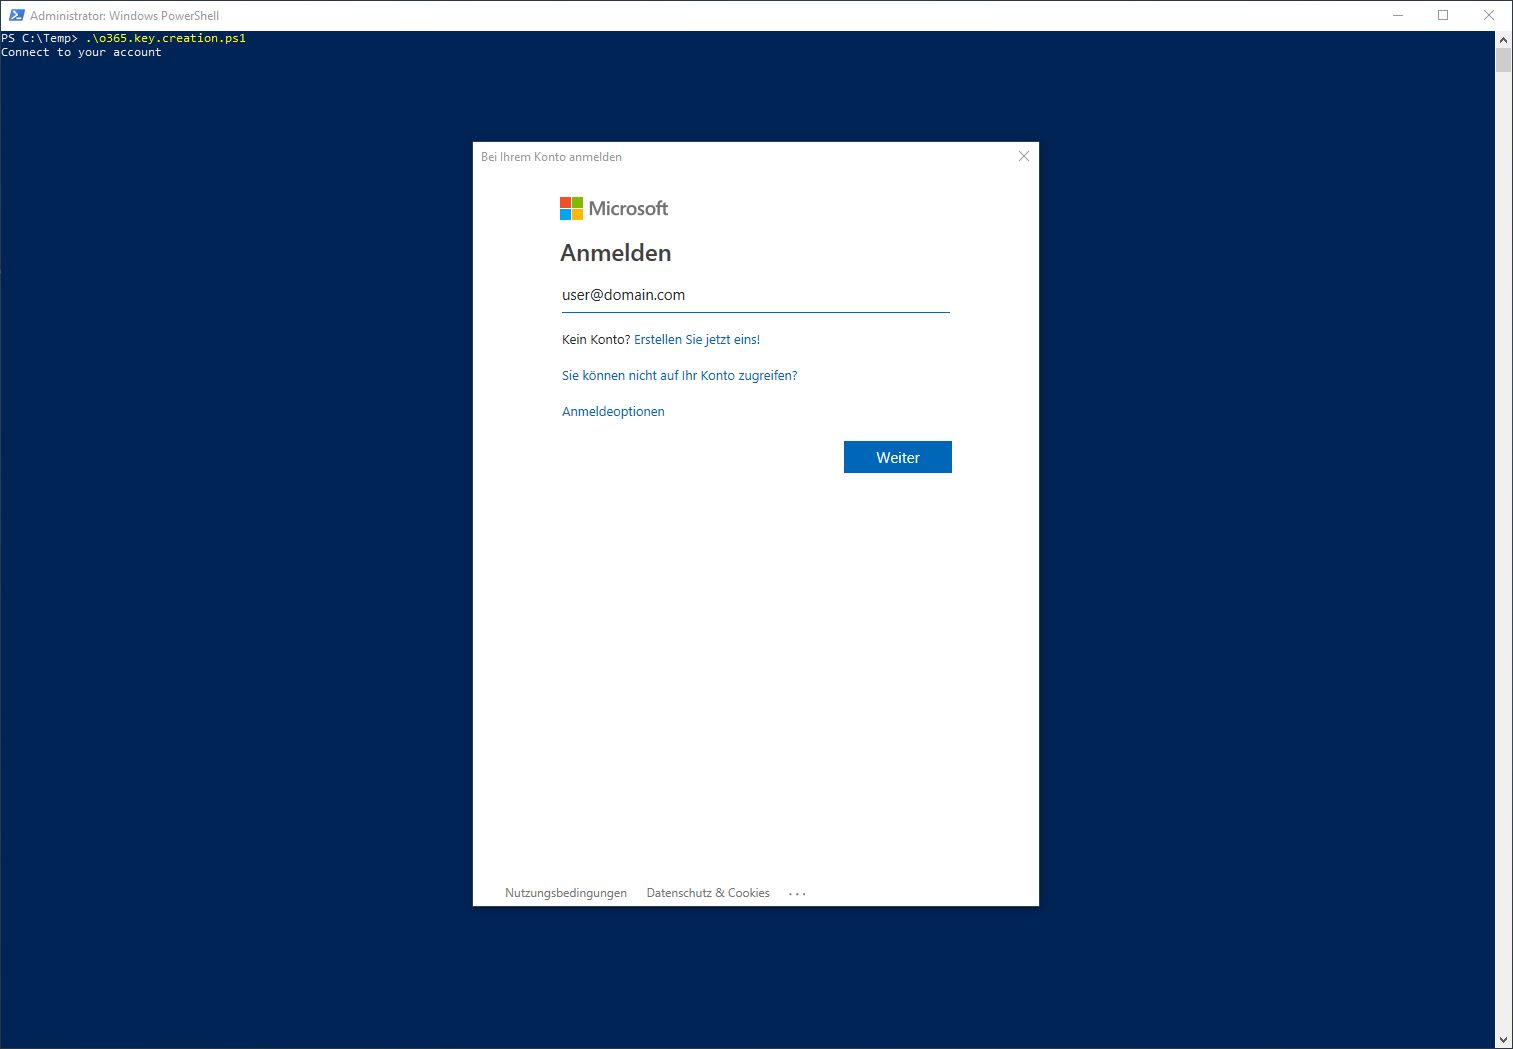
- Start PowerShell Script as an administrator
- Reload libraries if necessary and confirm execution dialogs
- Log in in the appearing window
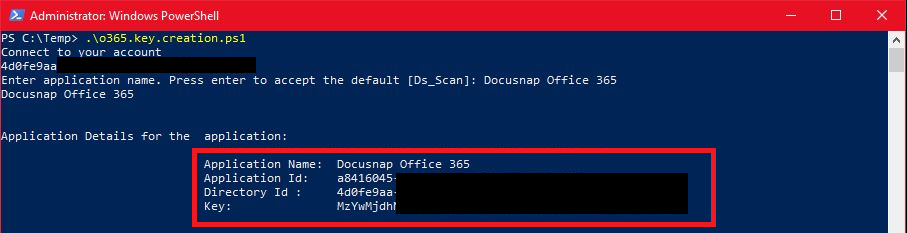
- Assign a name for the application: Docusnap Office 365

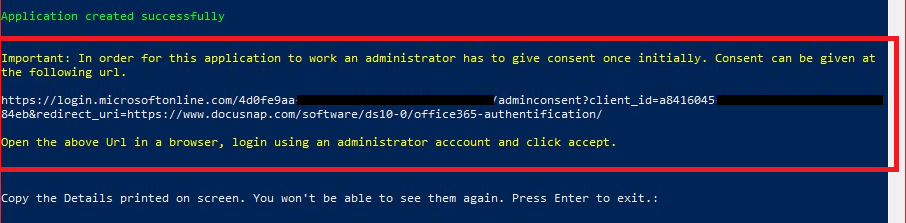
- All required information (Application ID, Directory ID and Key) is displayed afterwards
- Important - copy the displayed IDs - the key can no longer be found afterwards
- You have to open the displayed URL in the browser - log in and confirm the access